Deploying Zscaler using VMware Workspace ONE
I am pretty new to WS1 and ran into couple of challenges while deploying zscaler in our environment. Most of the search results ended up in something that’s suitable for jamf. So, thought to create something specfic to WS1
I followed the resources found online to create a zscaler package. There are multiple packages creating tools available. I have used composer app to package it.
Step 1: Get the installer pkg for zscaler team. Place the package in /private/var/tmp folder.
Step 2: Open composer and drag and drop the package from /private/var/tmp location.
Step 3: Provide the permission 755 to all the enclosed items
Step 4: Add postintsall script. This script is using the options provided by zscaler to configure the zscaler app for easier access. Use this blog for more information https://help.zscaler.com/client-connector/customizing-zscaler-client-connector-install-options-macos
#!/bin/sh

option_1="zscaler"
option_2=""
option_3="1"
option_4="unattended"
option_5=""
option_6=""
option_7=""
option_8="none"
option_9="company.com"
option_10="1"

if [[ -n "${option_1}" ]]; then
   add_option1="--cloudName ${option_1} "
fi

if [[ -n "${option_2}" ]]; then
    add_option2="--deviceToken ${option_2} "
fi

if [[ -n "${option_3}" ]]; then
    add_option3="--hideAppUIOnLaunch ${option_3} "
fi

if [[ -n "${option_4}" ]]; then
    add_option4="--mode ${option_4} "
fi

if [[ -n "${option_5}" ]]; then
    add_option5="--policyToken ${option_5} "
fi

if [[ -n "${option_6}" ]]; then
    add_option6="--reinstallDriver ${option_6} "
fi

if [[ -n "${option_7}" ]]; then
    add_option7="--strictEnforcement ${option_7} "
fi

if [[ -n "${option_8}" ]]; then
    add_option8="--unattendedmodeui ${option_8} "
fi

if [[ -n "${option_9}" ]]; then
    add_option9="--userDomain ${option_9} "
fi

if [[ -n "${option_10}" ]]; then
    add_option10="--launchTray ${option_9} "
fi

###Install the Zscaler app and configure it
"/private/var/tmp/Zscaler-osx-3.7.0.172-installer.app/Contents/MacOS/installbuilder.sh" ${add_option1}${add_option2}${add_option3}${add_option4}${add_option5}${add_option6}${add_option7}${add_option8}${add_option9}
Step 5: Go to package > setting and provide the actual version no. WS1 to display the version no when made available on the HUB.
Step 6: Once the package is created, add the package as a version if the app already exists in WS1 or if it’s new Add the package directly.
Note :
If you are updating as next version make sure to match the name on the plist to already uploaded app
If the version is already uploaded the you will see an error saying the version already exists in this OU. In this case retire the version and it will allow to update the same version again.
Step 7: Use the Worksapce admin portal to create a plist.
Step 8: Add the installation check script. To check for devices not having the required version
#!/bin/sh

NEW_VERSION=x.x.x.xxxx

VERSION=$(defaults read /Applications/Zscaler/Zscaler.app/Contents/Info.plist CFBundleShortVersionString)
if [[ $NEW_VERSION != $((printf $VERSION'\n'$NEW_VERSION) | sort -V | head -1) ]]; then
    exit 0
else
    exit 1
fi
Step 9: In the pre install script section add a script to remove the package. Doing this step because I ran into issue while trying to reinstall. Since the package receipt entry was made in the receipt it would fail to reinstall
#!/bin/sh

pkgutil --forget com.xxxxxxxxxxx.pkg

exit 0
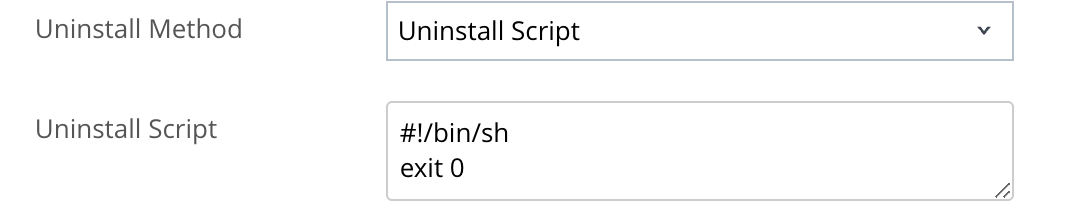
Step 10: To avoid app from being uninstalled when the app is unassigned update the uninstall method to Uninstall script and add a random script.
Note: While adding post install/Uninstall script add the pre install script as
#!/bin/sh
exit 0
Step 11: Assign to the assignment group and you have option to deploy on demand and auto.
- Auto: To automatically update. In this case to notify user the “hubcli notify”
- On demand: This will be available in hub for users to install
Step 12: Good to publish